Learn effective techniques for documenting requirements in agile. Improve your project success with clear user stories and acceptance criteria.
When people talk about agile, they often think it means “no documentation.” That’s one of the most persistent myths out there.
The reality isn’t about ditching documentation altogether; it’s about a complete shift in philosophy. It’s about moving away from creating massive, static specification documents that take months to write and are often outdated before a single line of code is written.
Instead, agile documentation is a living, breathing process. It’s focused on capturing just enough detail—usually through user stories and acceptance criteria—to get a conversation started, guide development, and deliver real value in small, iterative cycles. This keeps everything lightweight and, most importantly, adaptable.
Agile completely flips the traditional script on its head. It champions “just enough” documentation, treating requirements as the beginning of a conversation, not the final, unchangeable word.
This lightweight approach is absolutely critical for staying flexible and responding to change—which is the entire point of being agile. For teams exploring different ways to build software, looking into nearshore agile software development methodologies can show how these core principles are put into practice across various team setups.
To really grasp the shift, it helps to see the two approaches side-by-side. The differences in mindset and execution are stark.
Ultimately, the agile approach values working software and customer collaboration over comprehensive, fixed-in-stone documentation.
We’re seeing a clear trend of teams moving away from bureaucratic frameworks and back to practical agile documentation that actually works. This shift puts the focus squarely on creating succinct, relevant content that clarifies things, rather than bogging the team down.
This philosophy completely changes the artifacts we create. Instead of one monolithic document, requirements are captured in various forms and live in the product backlog. This has some huge benefits:
This modern approach ensures everyone has a shared understanding without getting stuck in the weeds. If you’re looking to go deeper, our guide on agile development documentation has a lot more strategies. At the end of the day, it’s all about delivering a great product that solves real user problems.
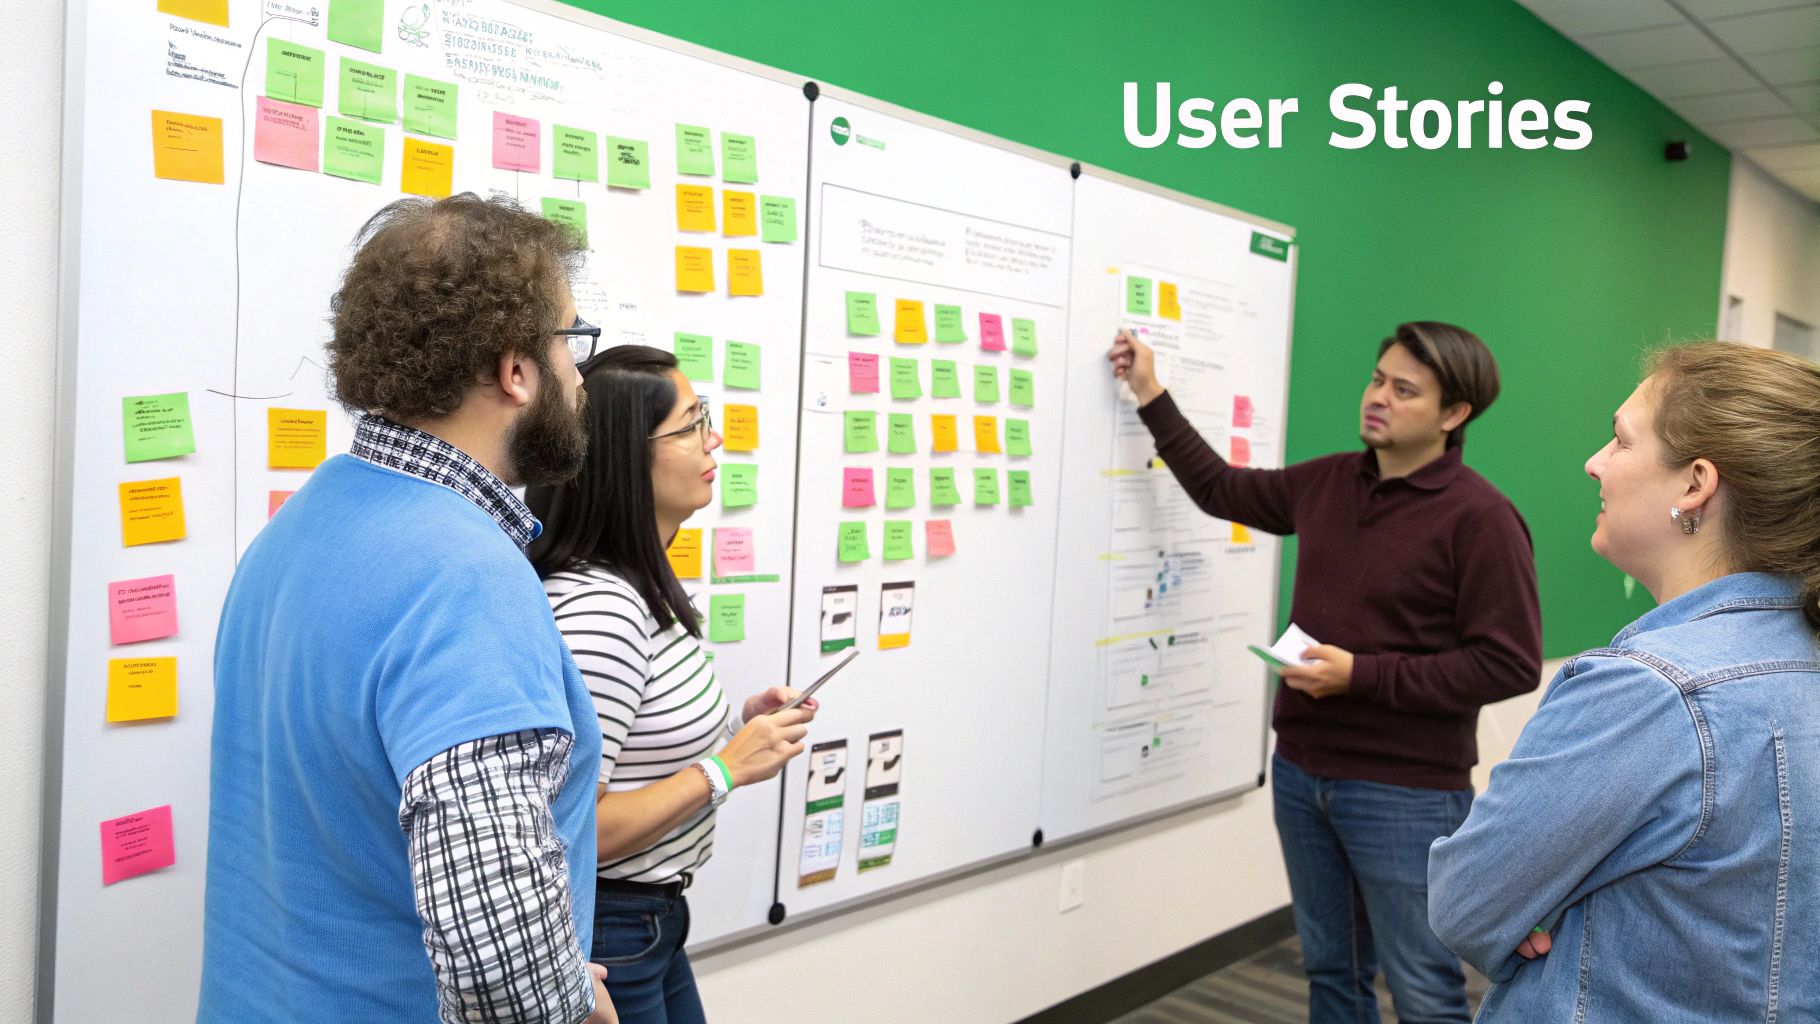
I love this visual from Atlassian because it perfectly captures what a user story is supposed to be: a tool for an ongoing conversation, not some static requirement set in stone. It’s all about that cyclical process of discussion and refinement.
User stories are the heart of agile requirements, but just filling in a template won’t get you very far. A truly effective user story is a promise of a conversation. It’s the starting point that clarifies the who, what, and why behind a feature.
The classic format—“As a [type of user], I want [some goal] so that [some reason]“—is powerful because it forces you to frame the work from a human perspective.
This simple structure immediately shifts the focus from writing dry technical specs to solving a real person’s problem. When you define why someone needs a feature, you give the development team the crucial context they need to make smart technical decisions. In fact, nearly 97% of well-written stories include that “so that” clause because it connects the work directly to value.
To level up your user stories from decent to great, run them through the INVEST acronym. Think of it as a quality checklist to make sure every story is ready for the team to grab and run with.
Let’s say we’re building a user profile feature. A poorly defined story might be: “As a user, I want to manage my profile.” This fails the INVEST test on almost every level—it’s too big, vague, and impossible to test properly.
A much better, INVEST-compliant version would be: “As a registered user, I want to upload a new profile picture so that I can personalize my account.” Now that’s a story we can work with. It’s small, valuable, and has obvious, testable outcomes.
Another brilliant framework is the “Three Cs,” which perfectly describes the lifecycle of a user story. It constantly reminds us that the written words are just one small piece of the puzzle.
By embracing this cycle, teams can sidestep the common pitfall of treating user stories like rigid, final specs. For a deeper dive into these strategies, you can check out our complete guide to agile requirements documentation. And if you really want to master the art of capturing stakeholder needs, this guide on Writing User Stories: Real-World Guide to Stories That Work is an excellent resource.
If a user story is the start of a conversation, acceptance criteria (AC) are the documented results of that talk. Think of them as the specific, testable conditions a feature must meet before anyone can call it “complete.” Without clear AC, your “Definition of Done” is just a guess, which almost always leads to frustrating rework and features that completely miss the mark.
This is where documenting requirements in agile gets real. Acceptance criteria are what turn a user story from a vague idea into a concrete, shippable piece of work. They give developers essential guardrails and provide QA with a clear checklist, making sure everyone is building the exact same thing.
This graphic really drives home the impact of having well-defined criteria.
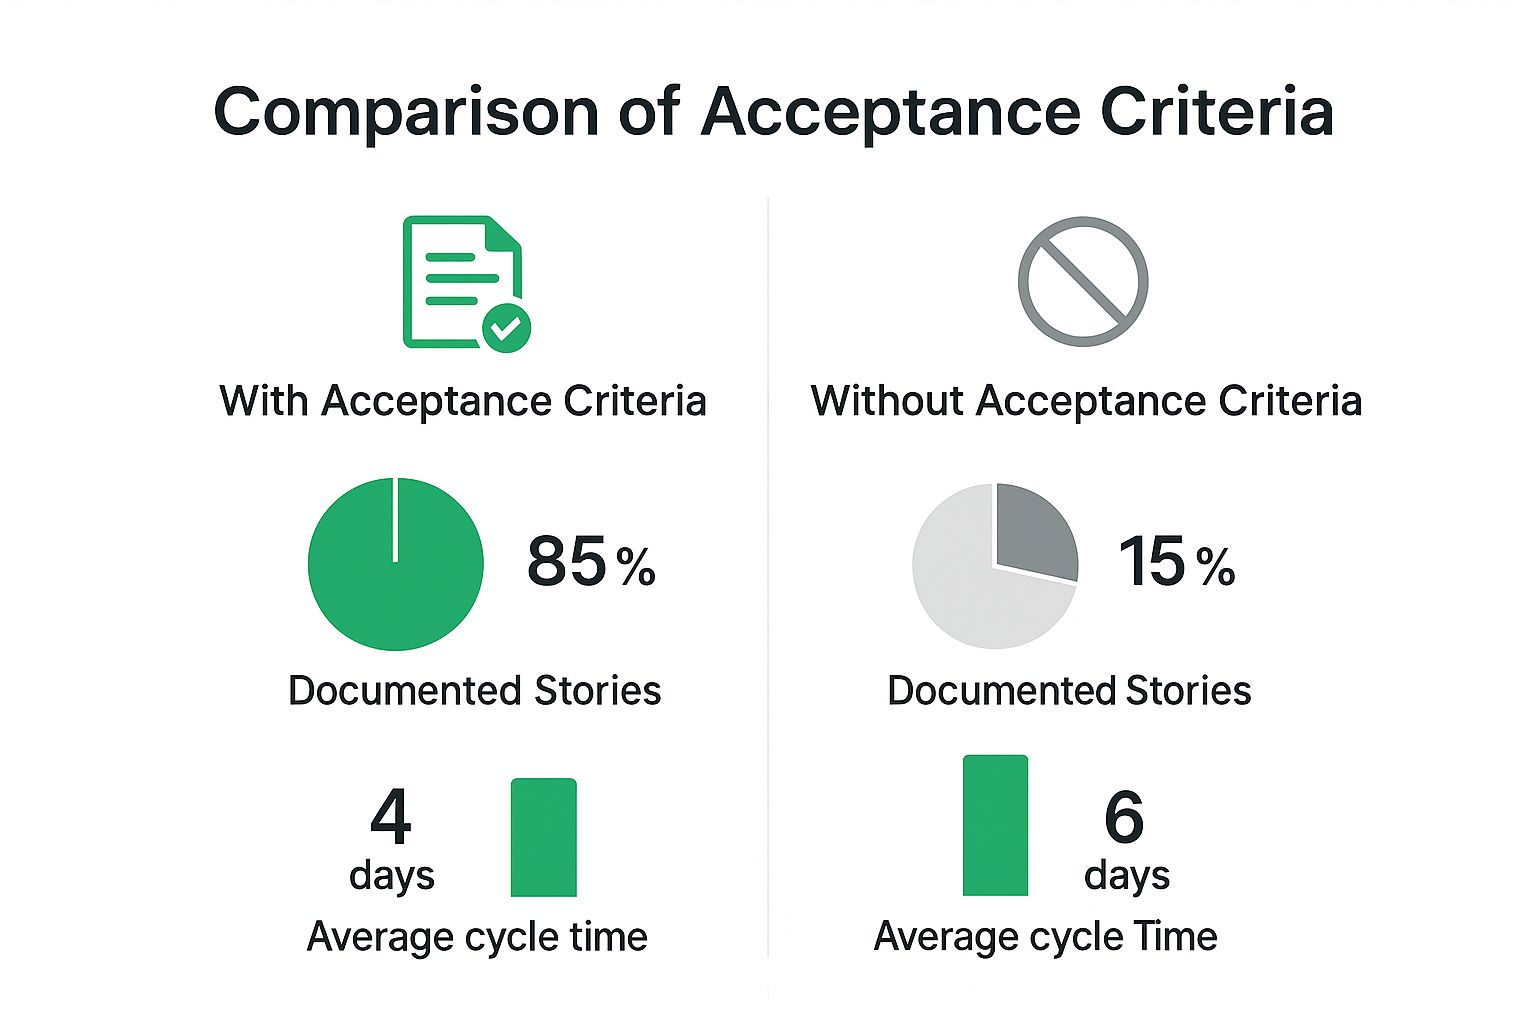
The data speaks for itself—teams that invest time in writing solid acceptance criteria see shorter development cycles and a much higher percentage of fully documented stories. It’s a small upfront effort for a massive downstream payoff.
There are a couple of popular ways to write AC, each with its own vibe. The most important thing is to pick a style your team actually understands and can stick with. You don’t need to be dogmatic about it, but consistency is king when it comes to clarity.
For many stories, a simple checklist is all you need. It’s direct, scannable, and perfect for straightforward functionality.
Let’s go back to our earlier user story: “As a registered user, I want to upload a new profile picture so that I can personalize my account.”
A checklist for this might look something like:
This format is clean, effective, and leaves no room for debate. Each item is a simple pass or fail.
When you’re dealing with more complex user interactions that have multiple steps or tricky conditions, the Gherkin syntax (Given/When/Then) is a game-changer. It comes from the world of Behavior-Driven Development (BDD) and helps you describe behavior without getting bogged down in technical jargon.
It breaks down like this:
To show how these two formats work for the same story, I’ve put together a quick comparison.
As you can see, Gherkin really forces you to think through specific user journeys and edge cases. It’s incredibly useful for getting product owners, developers, and QA on the same page because it reads like plain English. When you get everyone in a room to write these criteria together, you build a shared understanding that drastically cuts down the risk of misinterpretation later.
User stories are fantastic, but let’s be honest—sometimes, words just aren’t enough. This is especially true when you’re trying to nail down complex workflows or user interfaces. Text can be surprisingly ambiguous, leaving room for a half-dozen different interpretations of how a feature should actually look and feel.
This is where visual documentation becomes your team’s secret weapon. It cuts right through the confusion.
Simple, low-fidelity visuals provide a level of clarity that paragraphs of text could never hope to achieve. We’re not talking about pixel-perfect, high-art designs here. The goal is to create just enough visual context to fuel a productive conversation.
Think of these as conversation starters, not final blueprints. Their job is to make sure everyone on the team is picturing the same thing when they read a user story.
For example, a quick user flow diagram can instantly reveal a dead-end in a user’s journey or a confusing navigation path that’s nearly impossible to spot in a wall of text.

This kind of visual makes the entire process click for the whole team, showing how a user gets from A to B and all the decision points in between.
While visuals clarify what the user sees, non-functional requirements (NFRs) define how the system performs. These are the all-important “-ilities” that, if forgotten, can sink a project.
Ignoring NFRs is like building a stunning house with shoddy plumbing. It looks great from the outside, but it’s a disaster waiting to happen.
So how do you handle this? A great tactic is to add NFRs directly to a user story as specific acceptance criteria. For a “file upload” feature, you might add, “The upload must complete within 5 seconds for files up to 10MB on a standard broadband connection.”
For bigger, system-wide NFRs, you can create separate “technical stories” in the backlog to tackle things like setting up security protocols. In some industries, especially regulated ones, I’ve seen teams enrich their stories with links to compliance documents—a smart move that keeps critical details handy without bogging down the story itself. You can find more practical advice about agile requirements gathering on perforce.com. This ensures even the strictest needs are met without breaking the agile flow.
A healthy product backlog is the engine of any agile project, but it won’t maintain itself. That’s where backlog refinement, often called grooming, comes in. Think of it as the ongoing tune-up that keeps your agile engine running smoothly. It’s a dedicated, collaborative session where the team gets together to review upcoming work, clarify requirements, estimate effort, and get everything ready for future sprints.
This isn’t just another meeting on the calendar; it’s a continuous activity. The whole point is to make sure the user stories sitting at the top of the backlog are crystal clear and ready to be pulled into a sprint. When you skip this, sprint planning meetings devolve into chaotic, drawn-out sessions filled with more questions than answers.
Consistent refinement is what separates a team that keeps up its momentum from one that’s always hitting the brakes. This is where documenting requirements in agile really becomes a team sport, not just a task for the product owner.
So, what actually goes down during a refinement session? It’s a focused workshop where the team turns high-level ideas into concrete, actionable work. It’s less about status updates and more about active collaboration.
Typically, the team will: